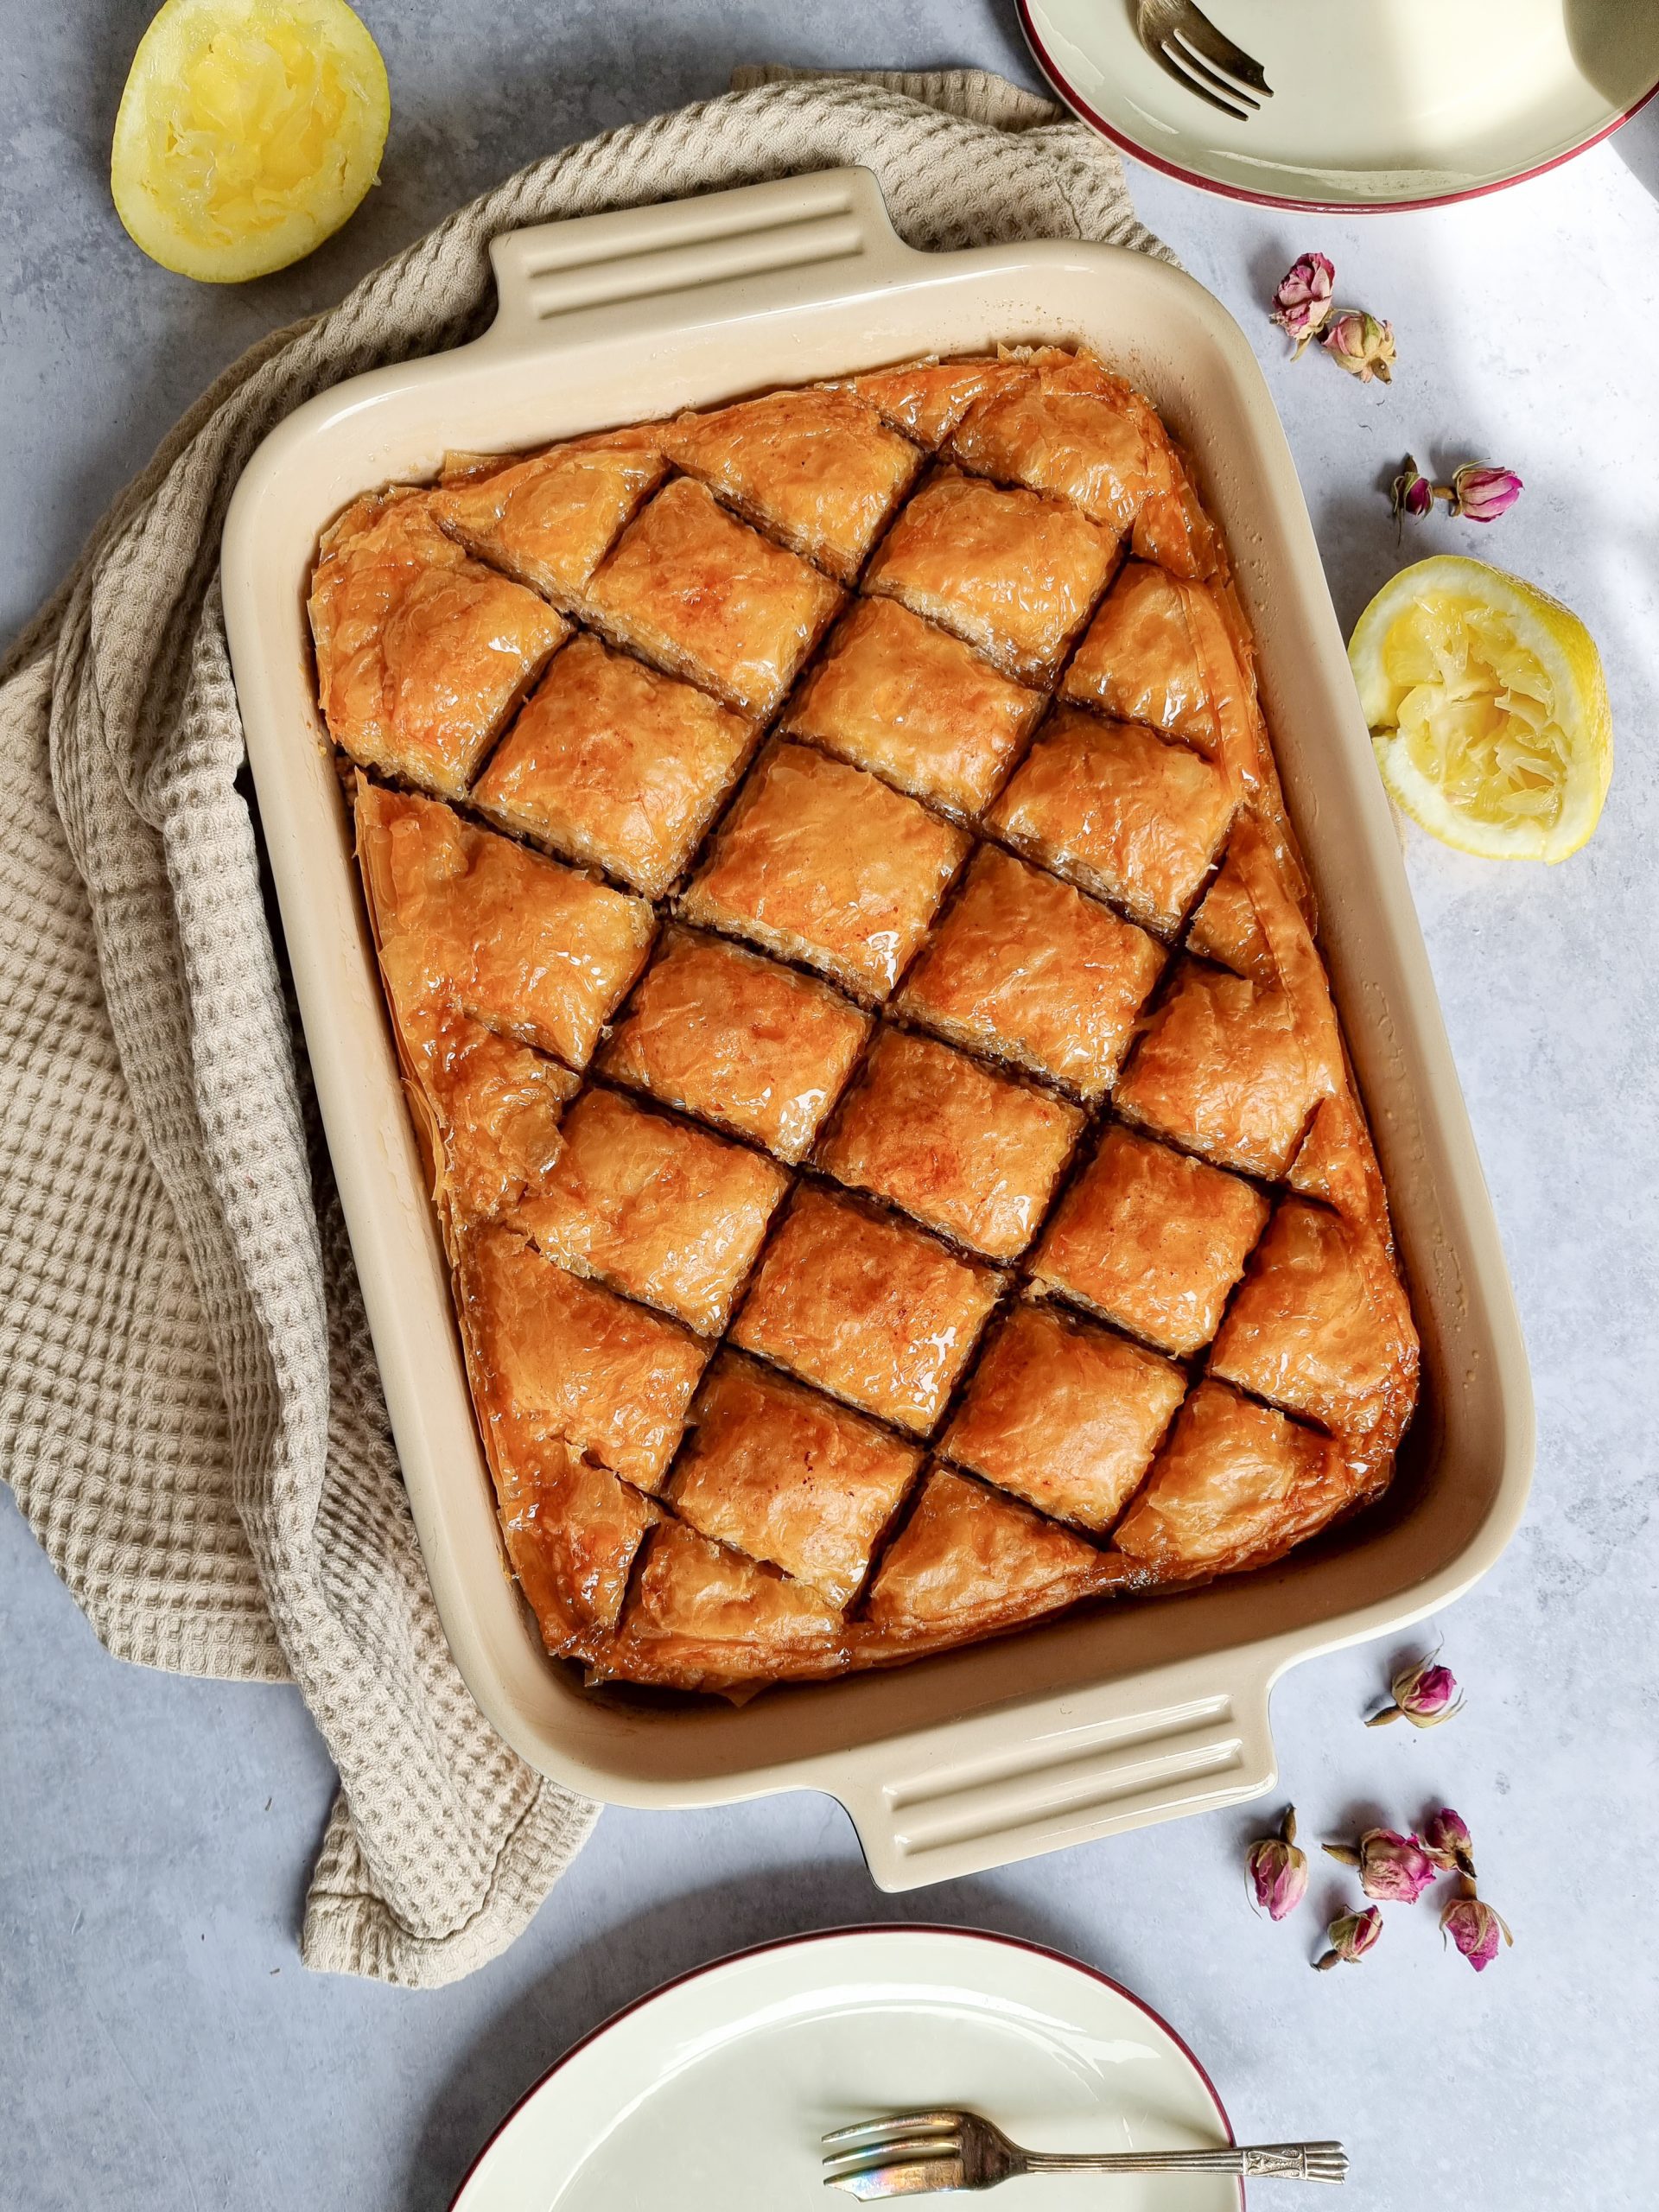
Classic Turkish Walnut Baklava

When it comes to sweet things, I can openly and honestly say I absolutely love them, especially when it comes to Turkish homemade sweets! This Classic Turkish Walnut Baklava recipe is a classic in our family, it's absolutely foolproof and if you follow the steps, I am so sure not only will you love the results, but it will definitely be a proud masterpiece to show off in front of friends and family.
Baklava is a traditional Turkish dessert that can be made at home, just as tasty and just as delicious as those you find in restaurants!
The Tastiest dessert to the eyes and mouth

What is Classic Turkish Walnut Baklava?
Baklava or Baklawa is made in so many different countries such as Greece, Hungary and the Middle East, and varies from culture to culture, but it is Turkey that is most famous for its delicacy.
It is a traditionally sweet dessert made up of multiple filo sheet layers, layered on top of one another, filled with crushed nuts, mainly walnuts, and tasty syrup, perfect for your sweet tooth! It is a dessert that is ready for many occasions, and typically essential as part of Ramadan and Eid Al Futr celebrations! Baklava is definitely loved by my family in all its shapes and forms :)
It is so good, it even has its own day, National Baklava Day! 17th November, save the date!
Baklava is an Art
When it comes to making baklava, that is a job in itself, but after finalizing your layers, it's now time to cut your master piece. Here's where the fun comes in...
The Classic Turkish Walnut Baklava is cut into squares. If you have a square or rectangular shaped tin, cut long even strips across one corner of the tin to the opposite diagonal corner and then again across the other two diagonals, like you see if my delicious pictures.
Baklava also comes in diamonds, to get this artistic shape, cut long even strips from the start of the pan to the end, and then slice diagonally to create your beautiful diamond shapes.
You can make Baklava is any way you like, just get creative. With all the right ingredients, you'll get that guaranteed amazing taste, its just becomes a matter of expressing your artistic side :)
- 2 cup Walnuts
- 1 Pack Phyllo Pastry
- 1 tsp Cinnamon powder
- 1 tsp Cardamom powder
- 1 cup Melted butter to brush layers
- 1/2 cup Melted Butter (to pour on top)
- 2 cup Sugar
- 1 slice of lemon
- 1/2 Lemon Juice
- 1 cup Water
Place the walnuts in a food processor and blitz until you have fine granules. (See Instagram video for this)
Mix the cardamom and cinnamon powder with the walnuts and set aside ready to use.
Melt the butter and using a brush, grease a baking dish. Cut the phyllo sheets into half so that it fits the base of the baking dish. Cover the second half and set aside so that it does not dry out while exposed to air.
Start placing 2 sheets at a time at the base of the baking tray and brush the melted butter all over so that the phyllo sheet is covered and not dry. This ensures that all layers are separated, fluffy and crispy when cooked.
Repeat this process until half of the sheets have been used up, midway through layer the crushed walnuts and continue repeating the same process of layering the phyllo sheets with butter.
Once all the sheets have been used up, pour the last half a cup of butter on top and create the cuts in the baklava.
Bake in a preheated oven on 160c fan for about 40 minutes or until golden.
Meanwhile make the simple syrup by putting all the ingredient in a saucepan and cooking down for 10-15 minutes on medium heat.
Test the syrup by letting a drip from the spoon, the last few drops should look like it takes longer for it to drip. This meant that the syrup is ready.
Pour the hot syrup on the hop baklava and serve up.
If the cut sheets doesn't fit the tray exactly, it is okay to crunch the sheets in the centre in order to have clean even edges. just make sure that the top 4 layers are a perfect fit so that the top comes out smooth so that its easier to cut.


